shovelbums guide

#202 Field Archaeologist's Survival Guide

Webster_Archaeologist_SurvivalGuide_Cover300dpi.jpg

As many of my readers know, I've had a long running series of posts called the Shovelbum's Guide. The posts are designed for field archaeologists and cover a variety of topics. Well, I've blogged earlier about Left Coast Press publishing those posts into a book. For the last several months I've been editing, adding to, and revising my posts. I'm glad to announce that the book is now available for pre-order, in paperback and eBook, on the Left Coast Press site for $24.95! It won't be out until about April, but, now is a great time to tell friends and family to get you a copy for the holidays.

The book's sections are designed to take you from college, to getting a job, to living on the road, to unemployment, and to coming back after a long break. I've also included a few helpful appendices. My goal is to see people using this book in the field. I'd love to see someone with a copy that is dog-eared, has notes written inside of it, and has coffee and dirt stains on the cover! That means it's getting used and that people are getting something out of it!

So, pre-order a copy before your holiday comes up. If you're into autographs for books, like I am, I'll sign your copy in Austin at the 2014 SAAs!

Here is the table of contents:

Section 1: Getting A Job
1. Education
2. The Curriculum Vitae And The Résumé
3. Cover Letter
4. Job Hunting
5. The Interview

Section 2: Shovelbumming
6. Essential Gear
7. Types Of Projects
8. Job Positions
9. Lodging
10. Hotels
11. Cooking On The Road
12. Camping

Section 3: Location, Location, Location
13. The UTM Grid
14. Township And Range
15. Smithsonian Trinomials
16. Mapping

Section 4: Good To Know
17. Dimensional Lumber
18. Munsell Book Of Color

Section 5: The End, For Now
19. Unemployment
20. Preparing For The Winter
21. Coming Back

Appendices
Example CVs And Resumes
Cover Letters
Interview Questions
Dimensional Lumber
Fieldwork Checklist
Winter Checklist

That's it! I'll remind you later, but, I expect harsh criticism so, together, we can make the second edition even more helpful.

Thanks for reading and I'll see you in the field!

#200 Shovelbums Guide Summary

I don't put too much stock in the fact that this is post #200. So, I'm not going to dwell on it. Instead, I'm going to give an index of my Shovelbums Guide posts for those of you that don't know about it. These posts constantly get hits so someone wants to see them. 

Incidentally these posts are currently being turned into a book with expanded information and a few extras. Should be on the shelves this spring. It will almost certainly be on the Left Coast Press table in Austin.

Shovelbums Guide Posts (So Far)

I do take requests...so if there is something you'd like me to write about let me know. 

Thanks for reading all 200 posts and I'll see you in the field! 


#175 Word For Archaeologists Pt. 3.2: Fun with Tabs

Part one of this short series on the use of tabs in Microsoft Word dealt with a few common issues. Those include setting up tabs, types of tabs, and some cool little things you can do right in the ruler. Here are some more advanced techniques you can use with tabs. Please comment and enjoy.

Tab Leaders 

​Tab leader types.

​Tab leader types.

Ever wonder how people get those dots in their table of contents? You know the ones I mean. The series of “periods” that run from the chapter title to the page number. Those are called tab leaders and can be used any time you have a tab in the document.

Tab leaders don’t care what type of tab you use. The symbol you choose will flow left from the tab between your text at the tab and the text at the beginning of the line. To choose a tab leader either double click in the ruler bar on a tab or click on “tabs” in the Format menu. 

In the Tab dialogue box you’ll see a wealth of information. At the top you can change the default position of tabs. It’s usually set at 0.5 inches. That means when you hit the tab key, with no tabs set in the ruler bar, your curser will move 0.5 inches. Next you’ll see a list of the tabs you have in your ruler bar and the position on the ruler that they are set at. Notice that there is a box where you can enter a number. If you know where you want all your tabs and would like to do it manually, or you would like to adjust existing tab positions, you can do that here. Just enter a number and click “set”. The tab will appear in the list.

​Tab Menu dialogue box

​Tab Menu dialogue box

Now you can click on one of those numbers and change the attributes of the tab. Notice that you can change they tab type by clicking one of the radio buttons next to left, center, right, etc. Here, is where you set the tab leader. On my version of word there are four options: none, dots, dashes, and a solid line. Most people like the dots, although, the solid line is clean and classy. You should always try to stay classy. Anyway…

Finally, you can clear all the tabs in the document by clicking on “clear all”. Keep in mind that this will move text around in your document if you’ve used the tab key. Only use “clear all” if you know what you’re doing. You can always press CNTL-Z if you really mess things up.

Paragraph and line indents

These aren’t really tabs but they function the same way. The margins of your writing area are determined by the triangles on the left and right side of the ruler. There is only one triangle on the right side and moving it will change the length of your paragraphs. The left side is more complicated and is composed of three parts: an inverted triangle, a regular triangle, and a small rectangle.

The bottom rectangle’s only function is to move both triangles at the same time. This is for indenting lines and paragraphs. All lines in the selected area will be moved. Keep in mind I said “selected area”. Tabs and the ends of the ruler can be different for every single paragraph you have in your document. When you press the enter key the settings for the previous paragraph are copied to the next one. To change the entire document press CNTL-A and highlight everything. Only do this if you want to change EVERYTHING.

The top triangle is the first line indent. Every need to indent the first line of a paragraph? Ever need to outdent (pretty sure that’s a word) the first line? This is where you do it. Just drag the top triangle only in either direction and that is where the first line will start.

​Indented text using just the triangles on the ruler bar.

​Indented text using just the triangles on the ruler bar.

The bottom triangle is the hanging indent. The rest of the lines in a paragraph (after the first line) will be positioned according to the bottom triangle. Thankfully, once you have your top and bottom triangles set you can move the whole lot by dragging the rectangular box. That will come in handy later.

Moving Ordered and Numbered Lists

An ordered list is one with bullets (dots, squares, whatever) and a number list uses, uh, numbers (OK, letters, roman numerals, and whatever else you want too). Instead of fiddling with the ruler bar to indent or outdent a list item, just use the tab key. Pressing the tab key will move the list item forward one tab space. That distance is determined by the tab distance you have set in the tab menu. Pressing SHIFT-TAB will move the item backwards. If you’re using a numbered list the name of the list item will also change (a. to i. to 1. etc.).

Summary

Click here for the first part of the tab series. In this post we learned how to manually set tabs and tab leaders, how to change the indentation on paragraphs, including first line indents, and how to move ordered and numbered lists quickly and easily.

If I made any mistakes, left something out, or you’d like me to cover something else in a future post be sure to let me know in the comments. You can also let me know by using the contact form in the sidebar.

Thanks for reading and I’ll see you in the field!

#174 Shovelbums Guide Part 18: Answering the Call

I created a few audio files for another resource that I'm helping to create on another website. I'll announce that when it goes live. For now, I need a place to store these files so I figured I'd give them to my listeners.​

​I had a little fun with my Zoom microphone and GarageBand and mocked up a couple of phone calls.

The Unprofessional Phone Call

This first one is a sample call with the potential employer calling a potential field technician employee. Clink the link to download the file.

The Professional Phone Call

This second call is from the point of view of the field technician. It's one of the many possible examples of how to handle a call from a potential employer. Click on this link to download the file.​

That's it. More to come.​

​Thanks for reading and I'll see you in the field!

#173 A Podcast for Recent Graduates

Podcast Logo (1).png

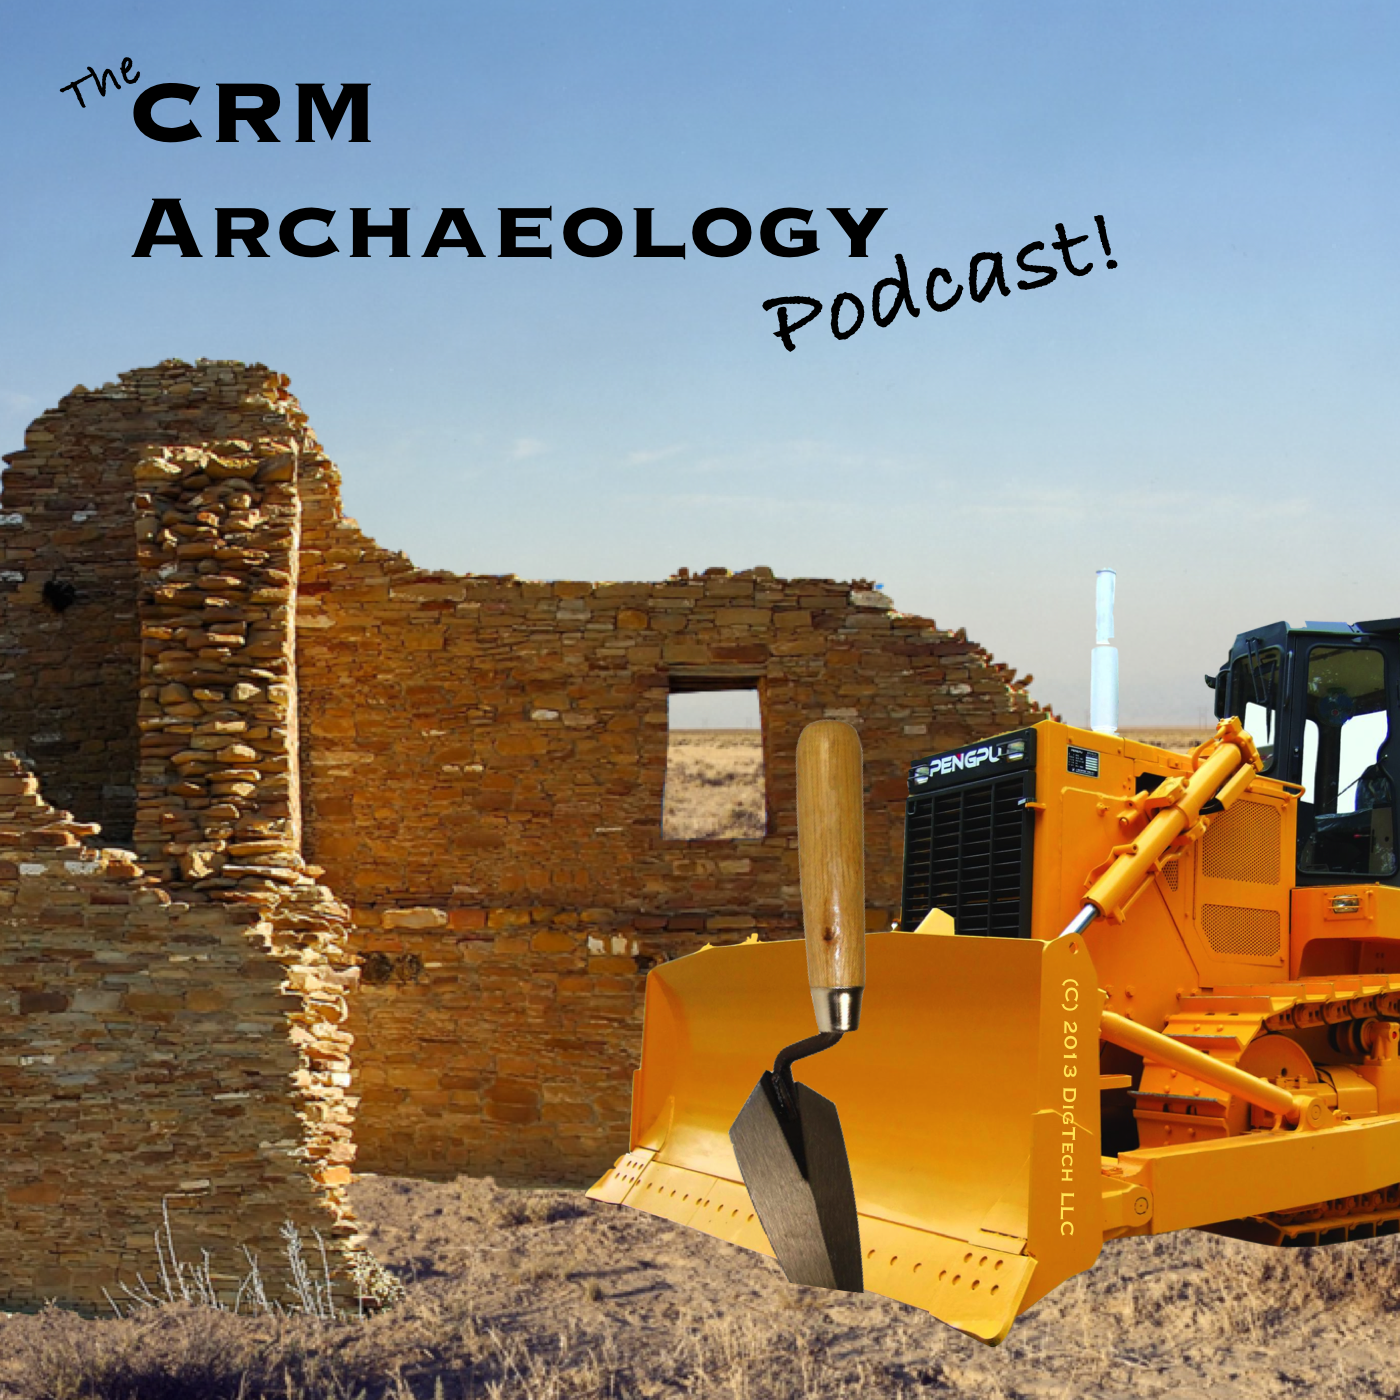
This is just a quick note to all my readers to let you know that the next episode of the CRM Archaeology Podcast is up. We have an extensive discussion on how recent archaeology graduates can enter the world of CRM Archaeology. We discuss our experiences with finding our first jobs, CVs and resumes, job finding sites, interview questions, and much more.​

If you know a recent graduate, or if your are a graduate student at a university, please share the podcast or this post. It's great information and it's something that all of us wish we'd had when we started in this field.​

Thanks you.​

Here's another link, just in case.​